
Quick answer
If you want to edit course videos faster, start with transcript cleanup, cut retakes and silence first, then apply captions and visual polish after structure is final. This sequence prevents rework and usually cuts editing time dramatically.
Most course creators do not fail on expertise. They fail on editing throughput. If each 20-minute lesson needs 90 minutes of cleanup, your publishing cadence eventually collapses. This guide gives you a repeatable long-form workflow to edit educational videos faster while preserving teaching quality.
The goal is not cinematic perfection. The goal is consistent, clear, and professional modules that students can actually finish. The workflow below is optimized for that exact outcome.
Before you edit: record for editability
- Use a simple repeatable setup (camera, audio, lighting) instead of chasing perfection.
- Pause after mistakes and restart the sentence cleanly so retake detection works better.
- Record one module per file when possible to reduce timeline complexity.
- Keep lesson objectives visible while recording to minimize tangents.
Step 1: Record in blocks, not one giant file
Record each lesson as a separate module. Smaller files make transcript analysis faster, reduce rework, and let you publish incrementally. In CueClip Desktop you can capture your screen or camera (or both) and land straight in the editor when you stop — useful for demos and slide-driven lectures without juggling another recorder.
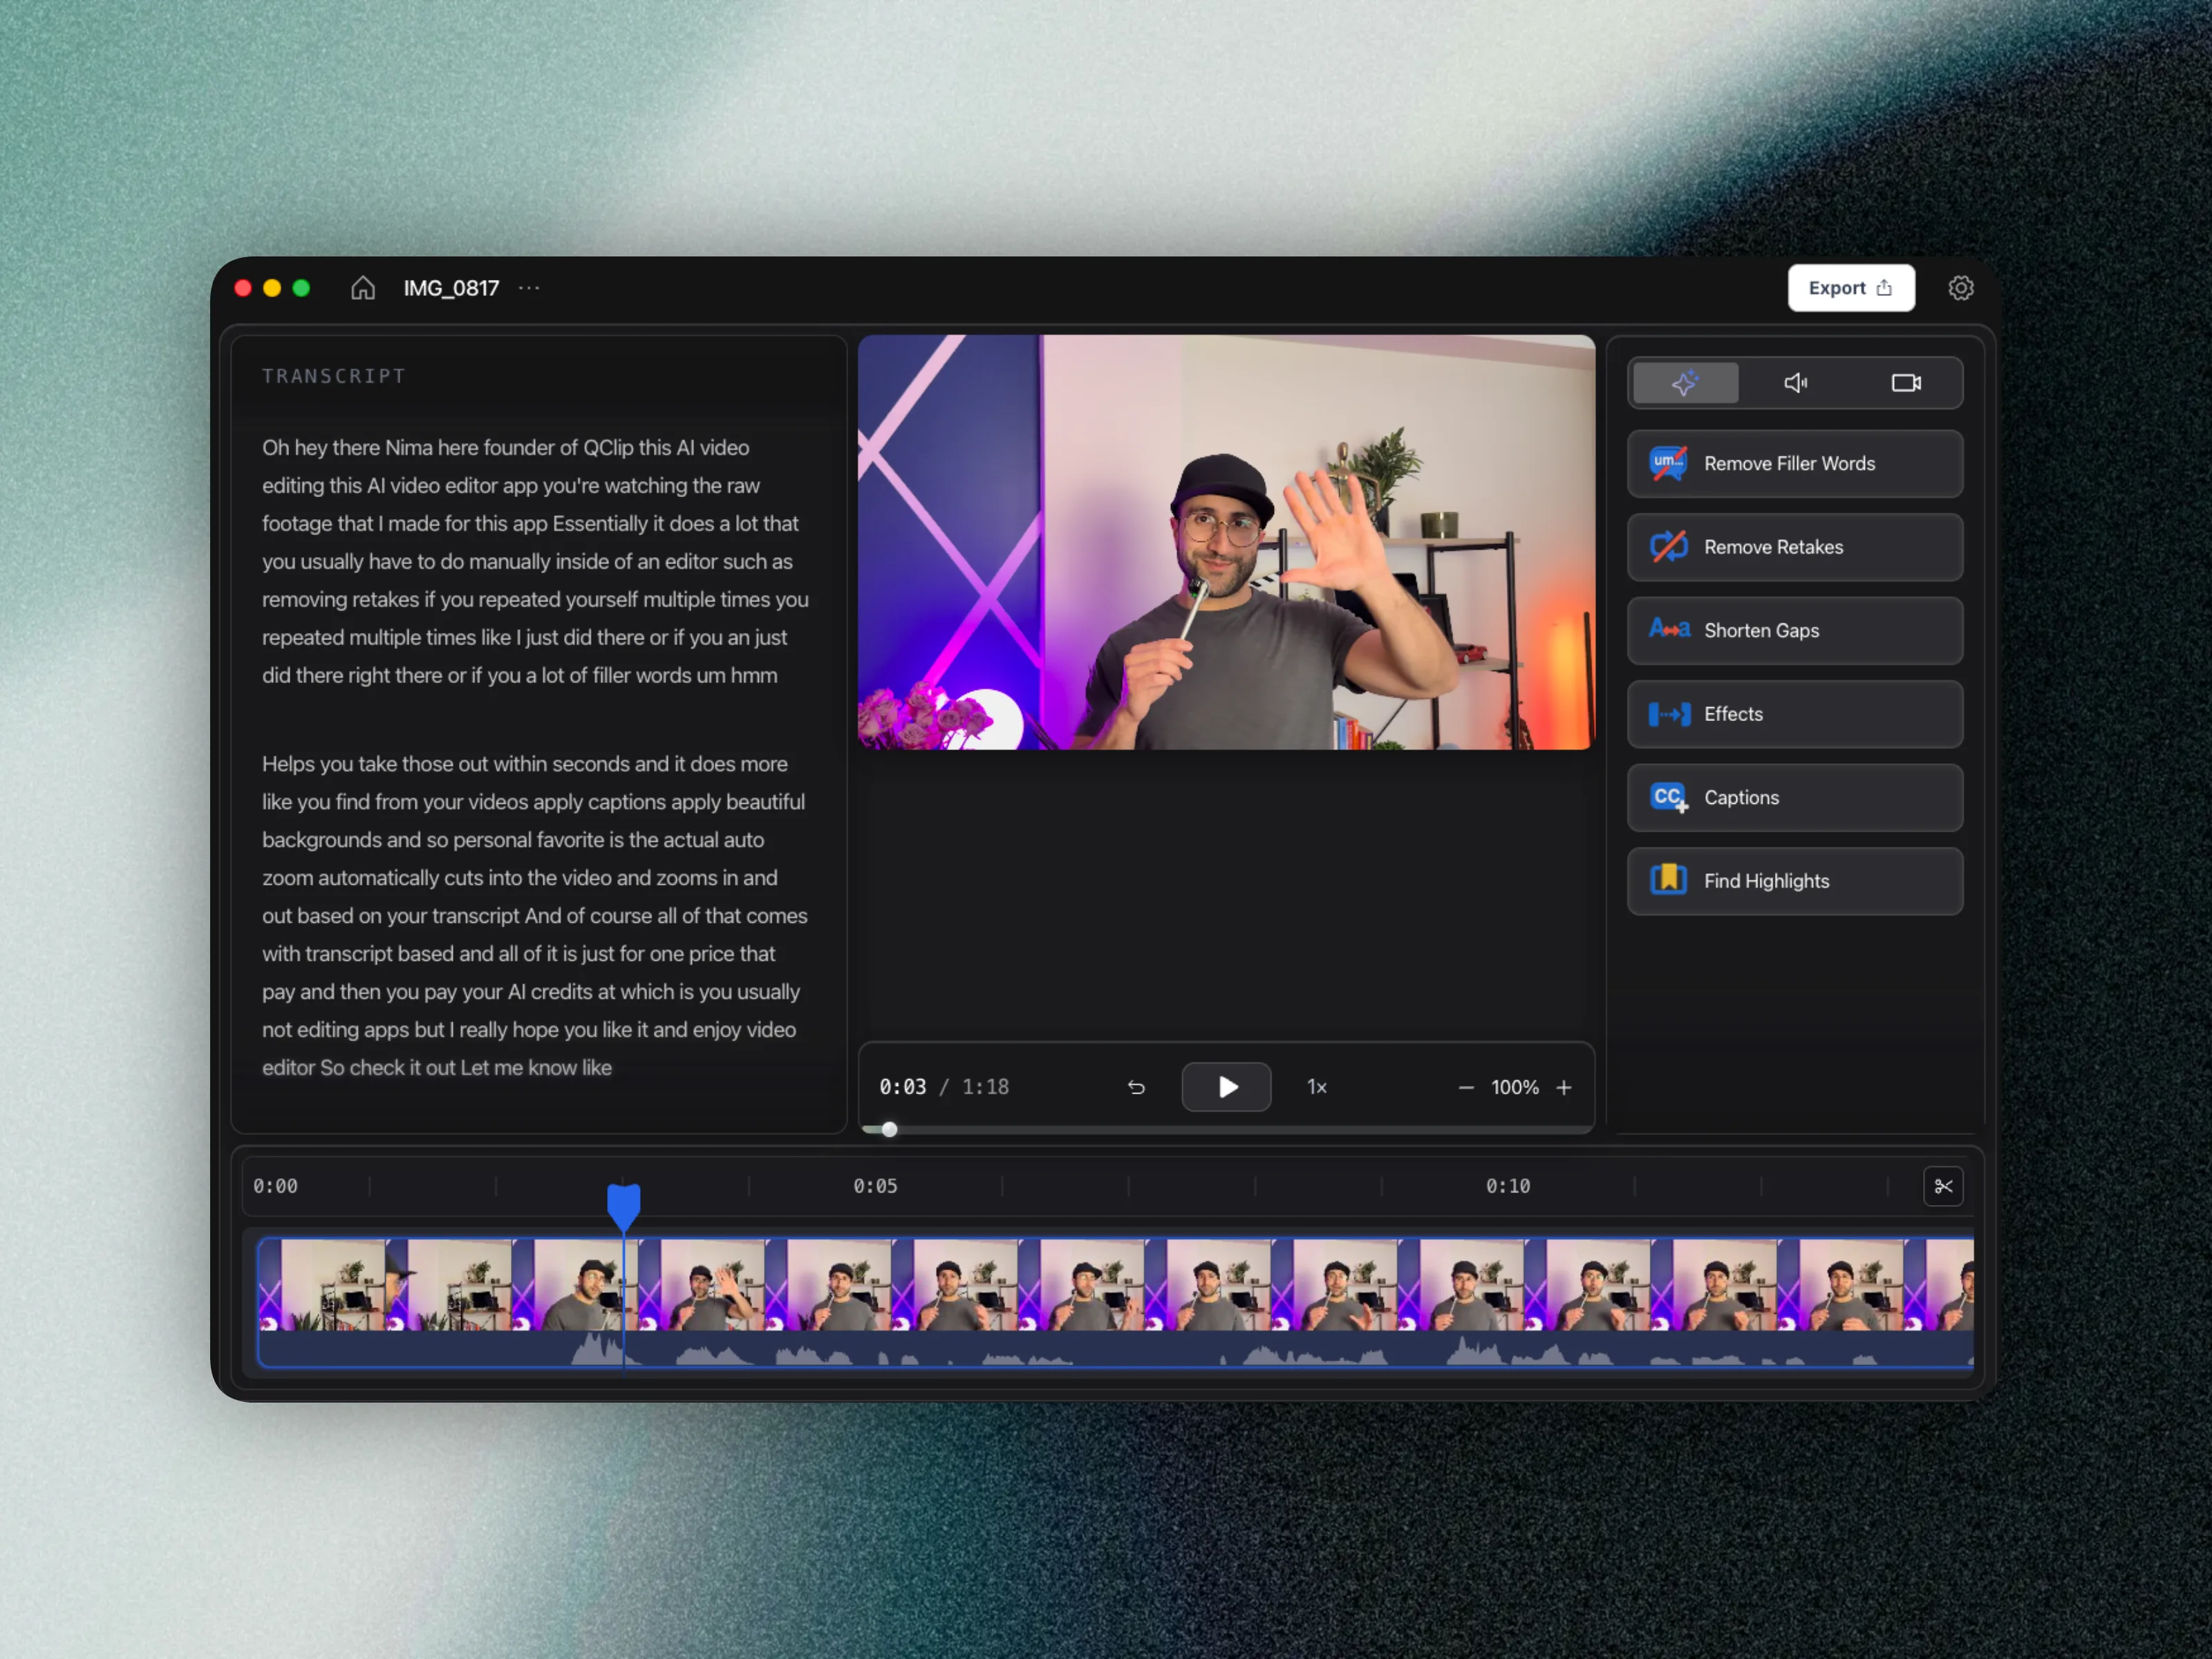
Step 2: Start with transcript cleanup first
Before touching visuals, remove filler words, retakes, and long silences. That gets the structure right first, which saves the most time.
Many creators lose hours by doing visual edits before structure. When structure changes later, captions, zooms, and transitions all need to be redone.
Step 3: Apply visual polish once at the end
Add captions, subtle zoom, and background cleanup after the core cuts are done. Editing visuals before structure creates wasted work.
Step 4: Export full lesson and short highlights together
Use one editing pass to produce both your main lesson and 1-3 social clips. That gives every lecture built in distribution assets.
Step 5: Keep a repeatable publishing checklist
- Transcript cleanup complete
- Captions reviewed
- Title slide and outro checked
- 4K export rendered
- 1-3 highlight clips exported
Time-savings benchmark by workflow stage
| Stage | Manual-heavy approach | Transcript-first approach |
|---|---|---|
| Structural cleanup | Timeline scrubbing + manual slicing | Transcript edits + AI cleanup passes |
| Retakes and filler words | Hard to detect consistently | Systematic detection and removal |
| Visual polish timing | Often done too early (causes rework) | Applied after structure is stable |
| Repurposed clips | Separate extra workflow | Export highlights from same edit pass |
Recommended tool stack for fast educational editing
If your content is educational and long-form, use a transcript-first editor to reduce cognitive load. Tools built for social templates alone can slow down lecture workflows.
Search terms like best video editor for course creators, how to remove filler words from lectures, and how to edit online course videos fast all point to the same bottleneck: long-form cleanup speed. Build your tool stack around that bottleneck first.
FAQ: editing lectures faster
How do I reduce lecture editing time without lowering quality?
Use a strict order: transcript cleanup first, visual polish second, export third. This removes the largest source of repeated work.
Should course creators use timeline editors or transcript editors?
If your content is mostly spoken educational content, transcript editing is usually faster and easier to scale than timeline-only workflows.
Can I record my screen or camera and edit in one tool?
Yes. In CueClip Desktop you can capture screen or camera (or both), then continue in the same editor without exporting from a separate recorder first.
How many clips should I export per lesson?
A good baseline is one full lesson plus 1-3 short highlights for marketing and social distribution.
Build your next lesson in less time
CueClip is built for course creators who want a fast path from raw recording to publish-ready module.
Download CueClip